Add a split test to your WordPress site
Once your license is active, you're three steps away from your first test.
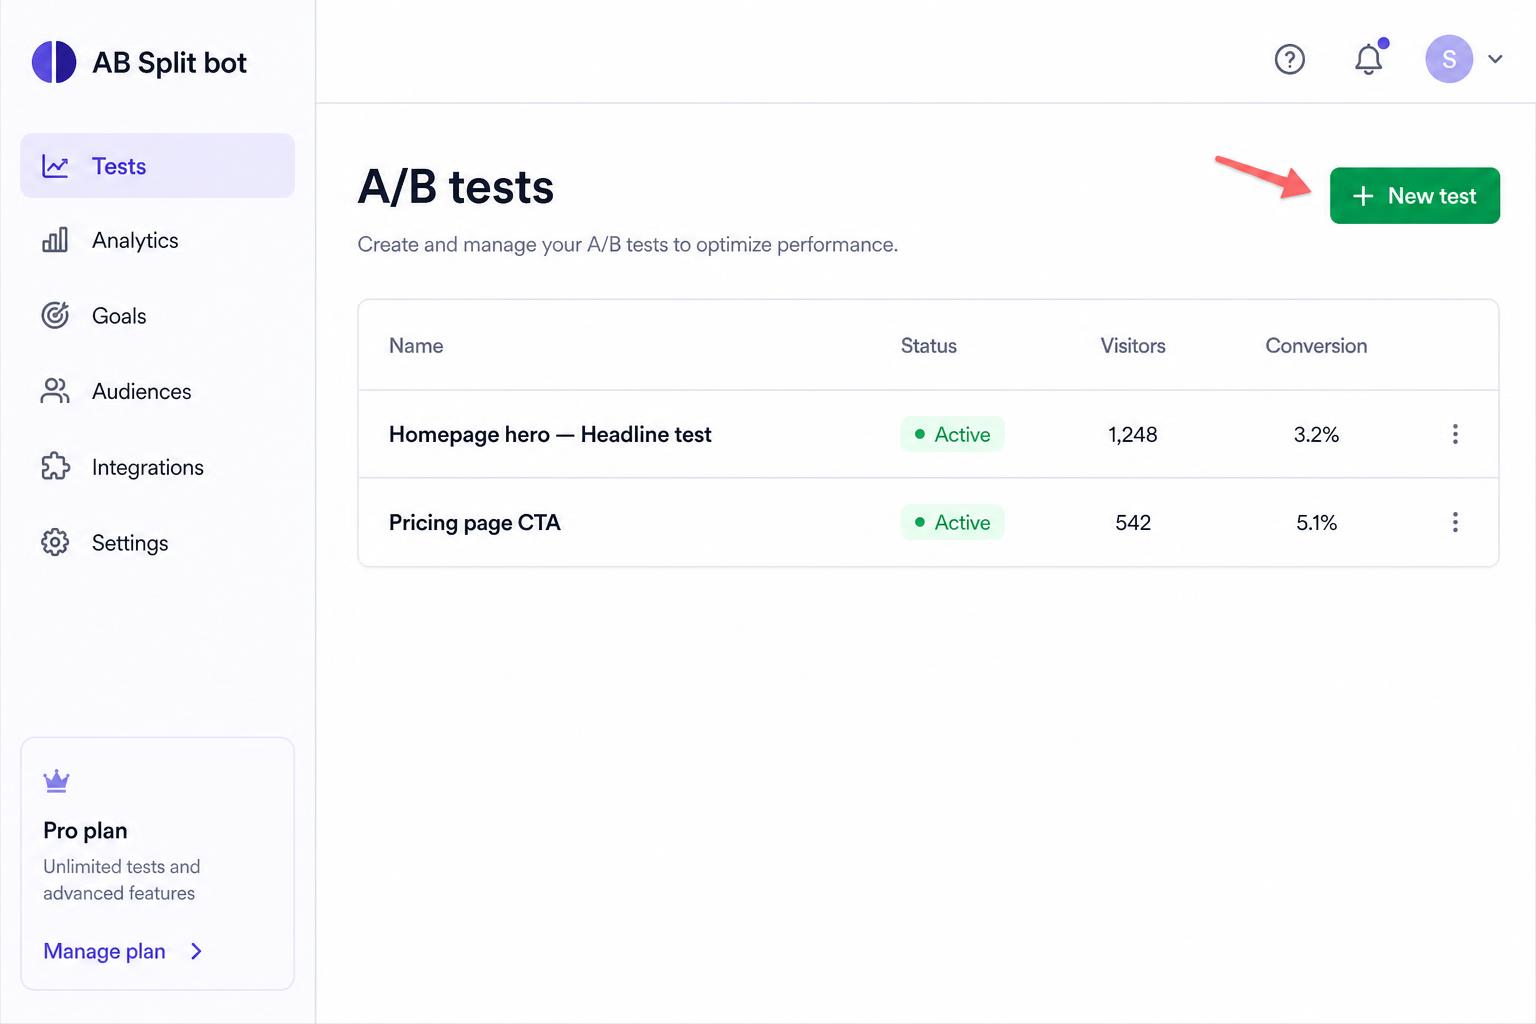
1. Create the test in your dashboard
- Go to your dashboard and click New test.
- Add your variants — at minimum a headline, supporting copy, and (optionally) an image for each one.
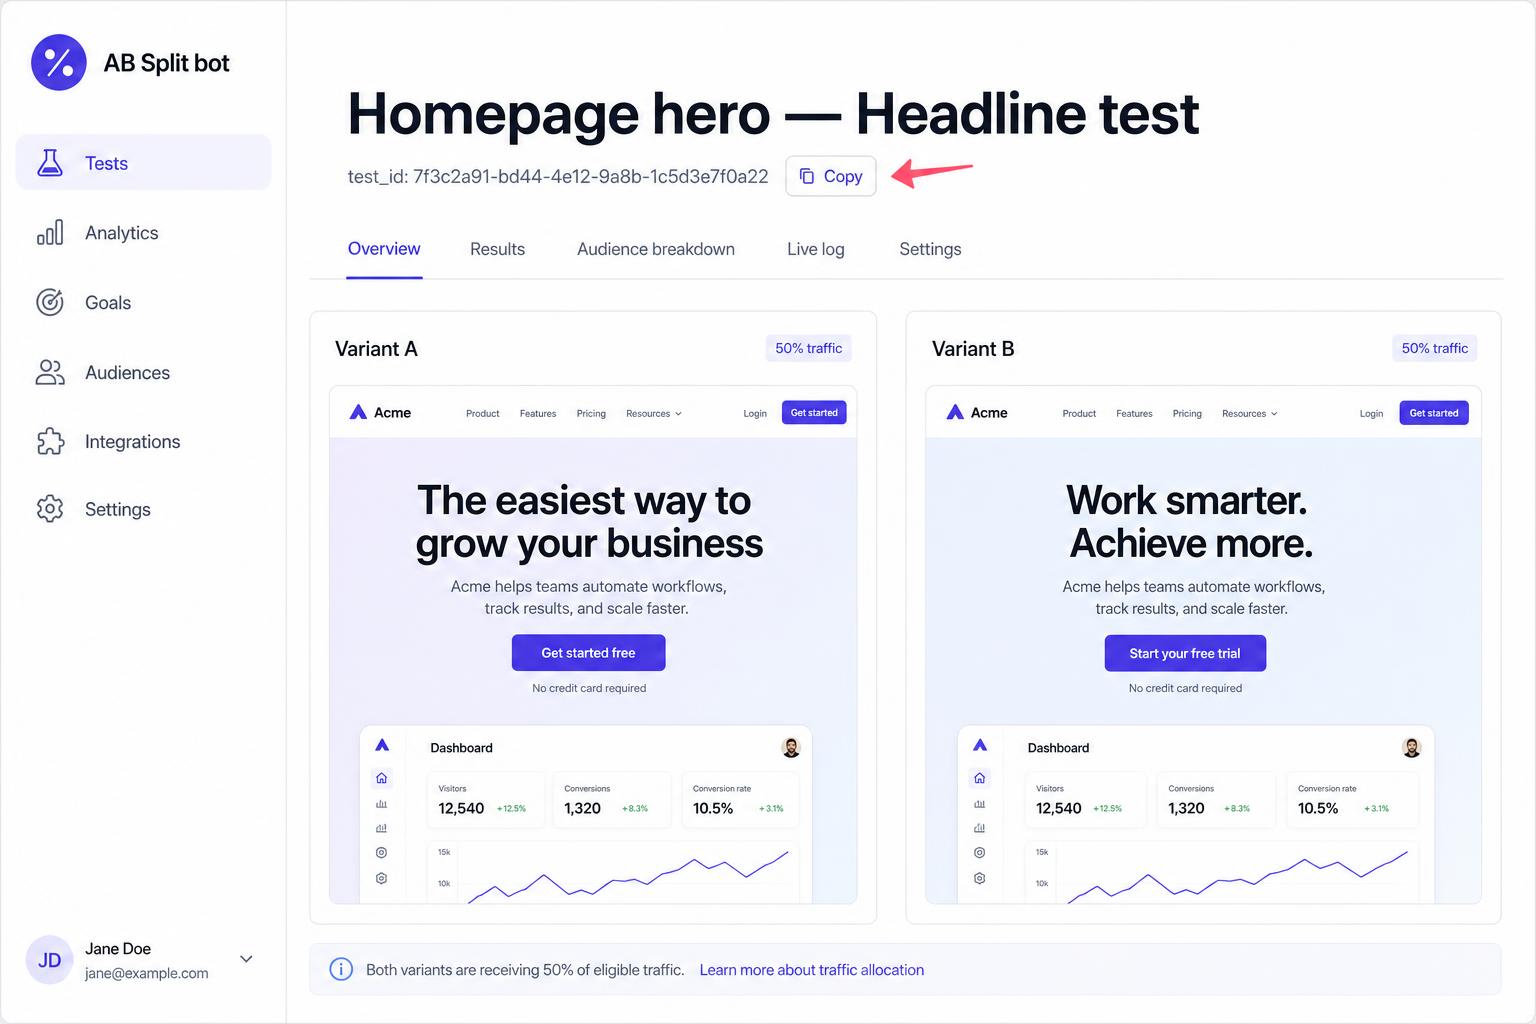
- Click Publish, then copy the test ID shown at the top of the test page.
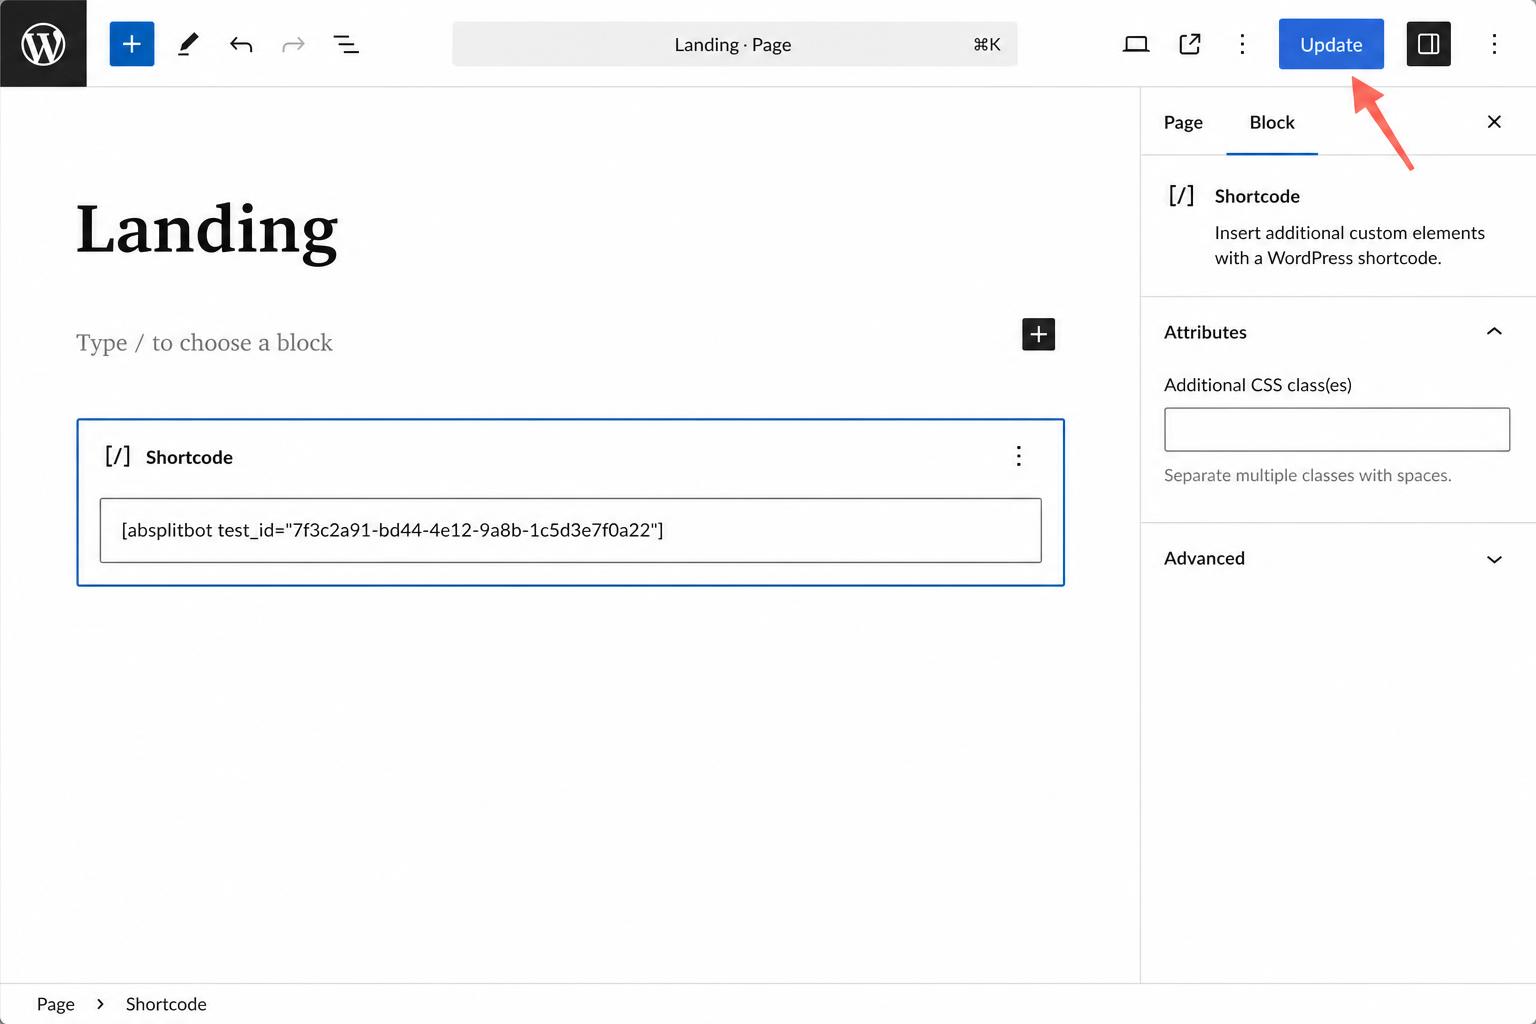
2. Drop the shortcode on a page
In WordPress, edit any page or post and add a Shortcode block (or paste it into a Classic block):
[absplitbot test_id="YOUR-TEST-ID"]Replace YOUR-TEST-ID with the ID you copied, then click Update.
3. View it on your site
Open the page in a normal browser tab. You'll see your test rendered. Each visitor is automatically bucketed and their choices/clicks are tracked in your dashboard.
Tips
- You can run multiple tests on the same site — just use different test IDs.
- The test only renders for visitors when your license is active. If it lapses, the shortcode quietly disappears for visitors (admins see a notice).
- Style your test with brand colors and a logo from the test settings page in your dashboard.